Oiling hair is an ancient technique revered for its multitude of benefits, from nourishing the scalp to improving hair strength and shine. Choosing the right oil for the type is essential, as various oils offer different vitamins and minerals that are beneficial for hair health.
Before starting the oiling process, it’s important to prepare correctly. I make sure it is detangled and sectioned to facilitate easy application. Warming the oil slightly can enhance its penetration, but I am always careful to check the temperature to prevent any scalp discomfort.
Buckle up and let us begin.
Oiling Techniques to Use at Home
In addressing hair oiling at home, my focus is on correct application and massage, optimal nourishment, and proper post-oil washing methods.
These steps are integral to enhancing hair growth, improving scalp health, and ensuring the benefits of oil penetrating effectively.
Application and Massaging
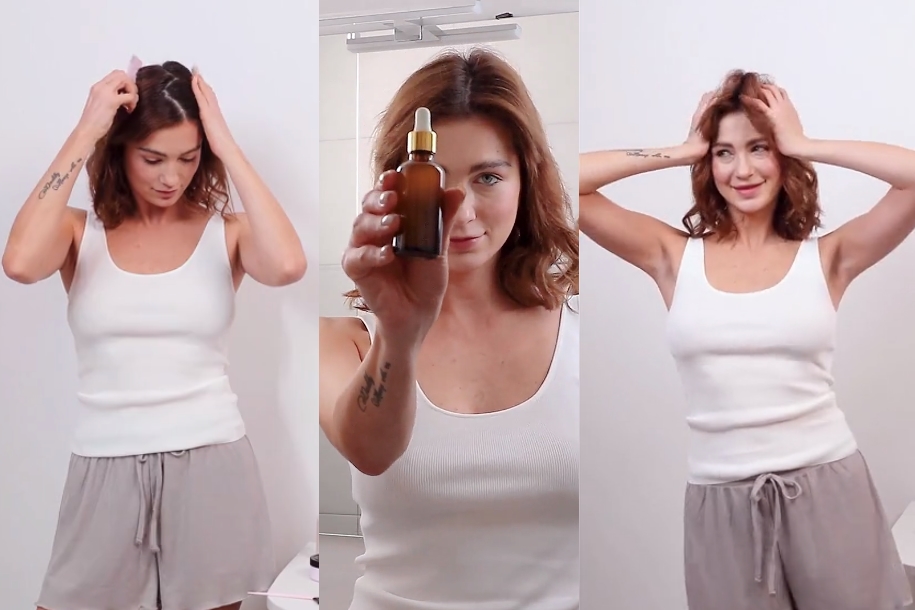
The process begins with gently warming the oil to a comfortable temperature, which I find enhances its absorption and boosts blood circulation in my scalp. To apply, first partition hair into sections to ensure even distribution.
Then massage the oil directly into the scalp using fingertips, employing gentle, circular motions. This massage, lasting about 5-10 minutes, not only helps the oil penetrate but also may aid in relieving conditions like dandruff and seborrheic dermatitis by nourishing the scalp more effectively.
For the oil, I often choose coconut or mineral oil, known for their ability to deeply penetrate the shaft. Sometimes, I would use Wild Growth Oil for its blend of nourishing ingredients.
I also make sure to add Biotin-rich foods in my diet, as Biotin is essential for healthy growth.
After applying the oil, leave it in for an extended period – typically 1-2 hours, or overnight for an intensive conditioning treatment.
After the oil has had sufficient time to nourish all of it, wash it out thoroughly to prevent any buildup.
I use a sulfate-free shampoo, often washing twice to ensure all oil is removed. After shampooing, rinse your hair with lukewarm water, which helps retain moisture and keeps hair soft.
- Warming the oil for better absorption.
- Partitioning hair for even oil application.
- Gentle scalp massage to promote circulation and absorption.
- Selecting the right product.
- Leaving the oil in for 1-2 hours or overnight for deep nourishment.
- Washing with a sulfate-free shampoo and rinsing with lukewarm water to maintain moisture.
Oils and Hair Types
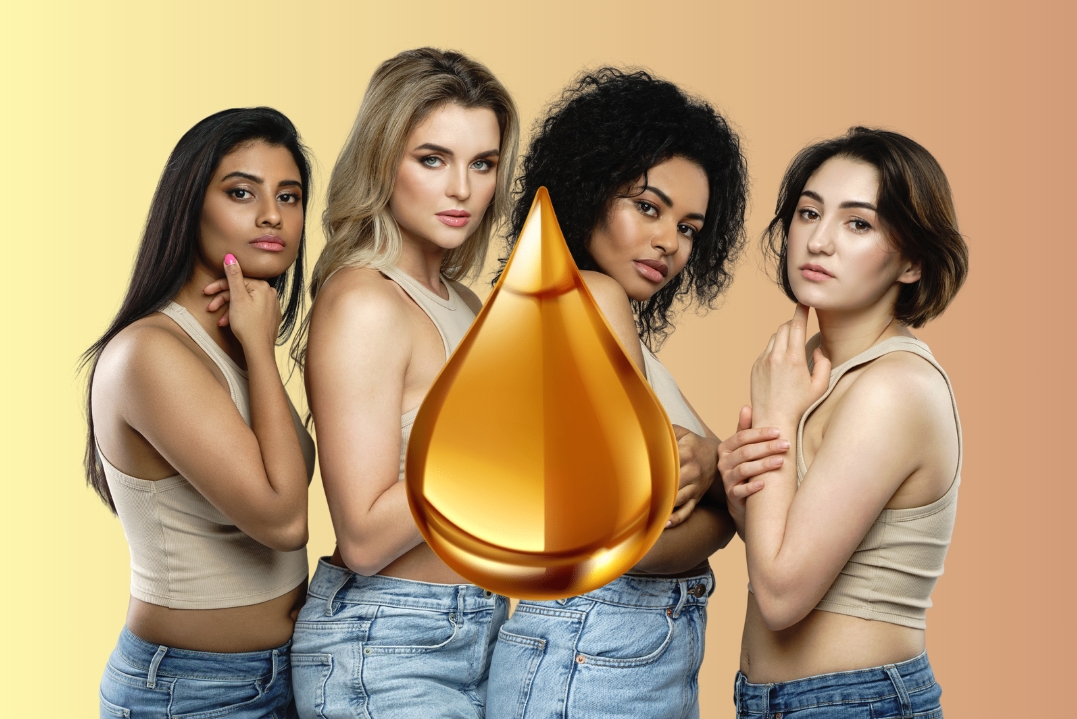
Hair type to establishes which oils are most beneficial. Understanding the different properties of natural oils helps select the best options for moisturizing, strengthening, and enhancing hair’s natural beauty.
Choosing Oils for Your Hair Type
Finding the right type of oil is not a big issue, but you do need to take a look at several factors like:
- Fine: I prefer lightweight oils like grapeseed or argan to avoid weighing it down. These are less greasy and absorb well.
- Curly or Coarse: For my friends with thick or curly, I usually suggest coconut or castor, as they are richer and can deeply penetrate the shaft.
- Oily: I’ve found that jojoba is similar to the scalp’s natural sebum, making it ideal for those with oily types without causing excess build-up.
- Dry, Brittle: I often turn to avocado or almond, rich in vitamin E and fatty acids, to nourish the hair.
Considering the benefits is another absolute must.
- Moisturizing: Coconut oil is excellent for its hydrating properties, locking in moisture.
- Strength: Castor oil is rich in fatty acids, which promote strength and growth.
- Scalp Health: Oils like tea tree oil provide benefits for the scalp due to their antifungal and antibacterial properties.
- Shine: Argan oil, known as ‘liquid gold,’ adds a natural sheen to my hair, making it look healthy.
Preparation for Oiling

Before beginning the oiling process, ensure that the hair is free of tangles and divided into sections. Proper sectioning allows for complete coverage, and warming the oil enhances its absorption into the hair strands.
Step #1: Detangling and Sectioning
Firstly, take a wide-tooth comb to gently detangle, starting from the ends and working my way up to the roots. This minimizes breakage and ensures an even application of the oil. After detangling, divide it into sections.
Depending on the thickness and length of strands, create four to six sections and secure each one with clips. This makes it easier to manage and ensures that you will not miss any spots during the oiling.
Step #2: Warming the Oil
For the oiling itself, warm the oil to a comfortable temperature — not too hot, as I want to avoid any scalp burns. Warm oil penetrates the hair follicles more effectively, and it can provide a relaxing experience.
I do this by pouring my preferred variant, such as coconut or almond, into a bowl and placing it in hot water for a few minutes. To test the temperature, put a small drop on the back of my hand. The warmth should be pleasant and not scalding. Mixing these two variants is crucial to get the best results.
Addressing Potential Concerns

Oiling is an effective way to nourish the scalp and improve the overall health of the hair.
Managing Dry Hair and Scalp
Dry hair and scalp can result from a lack of moisture which often leads to discomfort and frizz. To address this, I recommend massaging warm oil into the scalp to improve blood circulation and hydration. Suitable ones, such as coconut or argan , can penetrate the scalp and moisturize dry areas effectively.
After applying oil, wrapping the head in a warm towel enhances absorption, thus alleviating dryness.
- For Dry Scalp: A gentle massage with jojoba, which closely mimics the scalp’s natural sebum, can help balance oil production and provide relief from dryness.
- For Dry Hair: Almond, rich in vitamins, can nourish it from root to tip, combatting dryness and leaving it smooth and soft.
Strengthening Against Damage
Repeated exposure to the sun and heat styling tools can weaken it, leading to split ends and breakage. Regular oiling with oils infused with protein, like avocado oil, can reinforce hair’s structure and provide a protective barrier against such damage.
- For Brittle: To combat brittleness, I find that a weekly treatment with olive oil helps to fortify the cuticle cells, reducing the likelihood of hair breakage and split ends.
- For Frizzy: Applying a small amount of castor oil can smooth frizz by sealing the cuticles, thus providing a sleeker look and protecting against moisture loss.
Maintaining Healthy Hair

To ensure hair stays healthy and vibrant, I prioritize a consistent hair care routine that incorporates best practices. These routines not only keep the hair nourished but also support scalp’s health.
Best Practices for Regular Hair Care
It’s vital for me to follow a hair care routine that includes gentle cleaning and conditioning. This helps prevent stripping my hair of its natural oils.
- Hydration: I make sure to keep my hair well-hydrated. Using products with hydrating ingredients or applying oil regularly can form a protective barrier, retaining moisture effectively.
- Scalp Health: Maintaining a clean scalp is essential. I occasionally use a gentle scrub or a massage to promote circulation.
- Lauric Acid: Select products with lauric acid because it’s known for its ability to penetrate the shaft and nourish deeply.
- Chemical Treatments: I always consult a dermatologist or a certified hair specialist before undergoing any chemical treatments to avoid damage.
- Avoiding Harsh Chemicals: I steer clear of products with harsh chemicals like sodium lauryl sulfate, as they can be too abrasive.
FAQs
Summary
In practicing effective hair oiling at home, I’ve found that it’s not just about the choice but also the method of application. Through my experience and research, including insights from studies on silicone oil nanoemulsions and herbal variants, I’ve learned that a methodical approach can enhance the benefits.
Regular application – once or twice a week – can support overall health, resulting in reduced hair fall and potential thickening, as indicated by various product evaluations.
Remember, consistency and care in your hair oil routine contribute significantly to the health.
Selecting the right one for your type, such as coconut for quick absorption or argan for pretreatment protection, can also make a noticeable difference. With these steps in mind, you’ll likely see improved hair texture and strength over time.